Tag Archives | Tumbling

Squeeze those Hips , But don’t Forget #1!


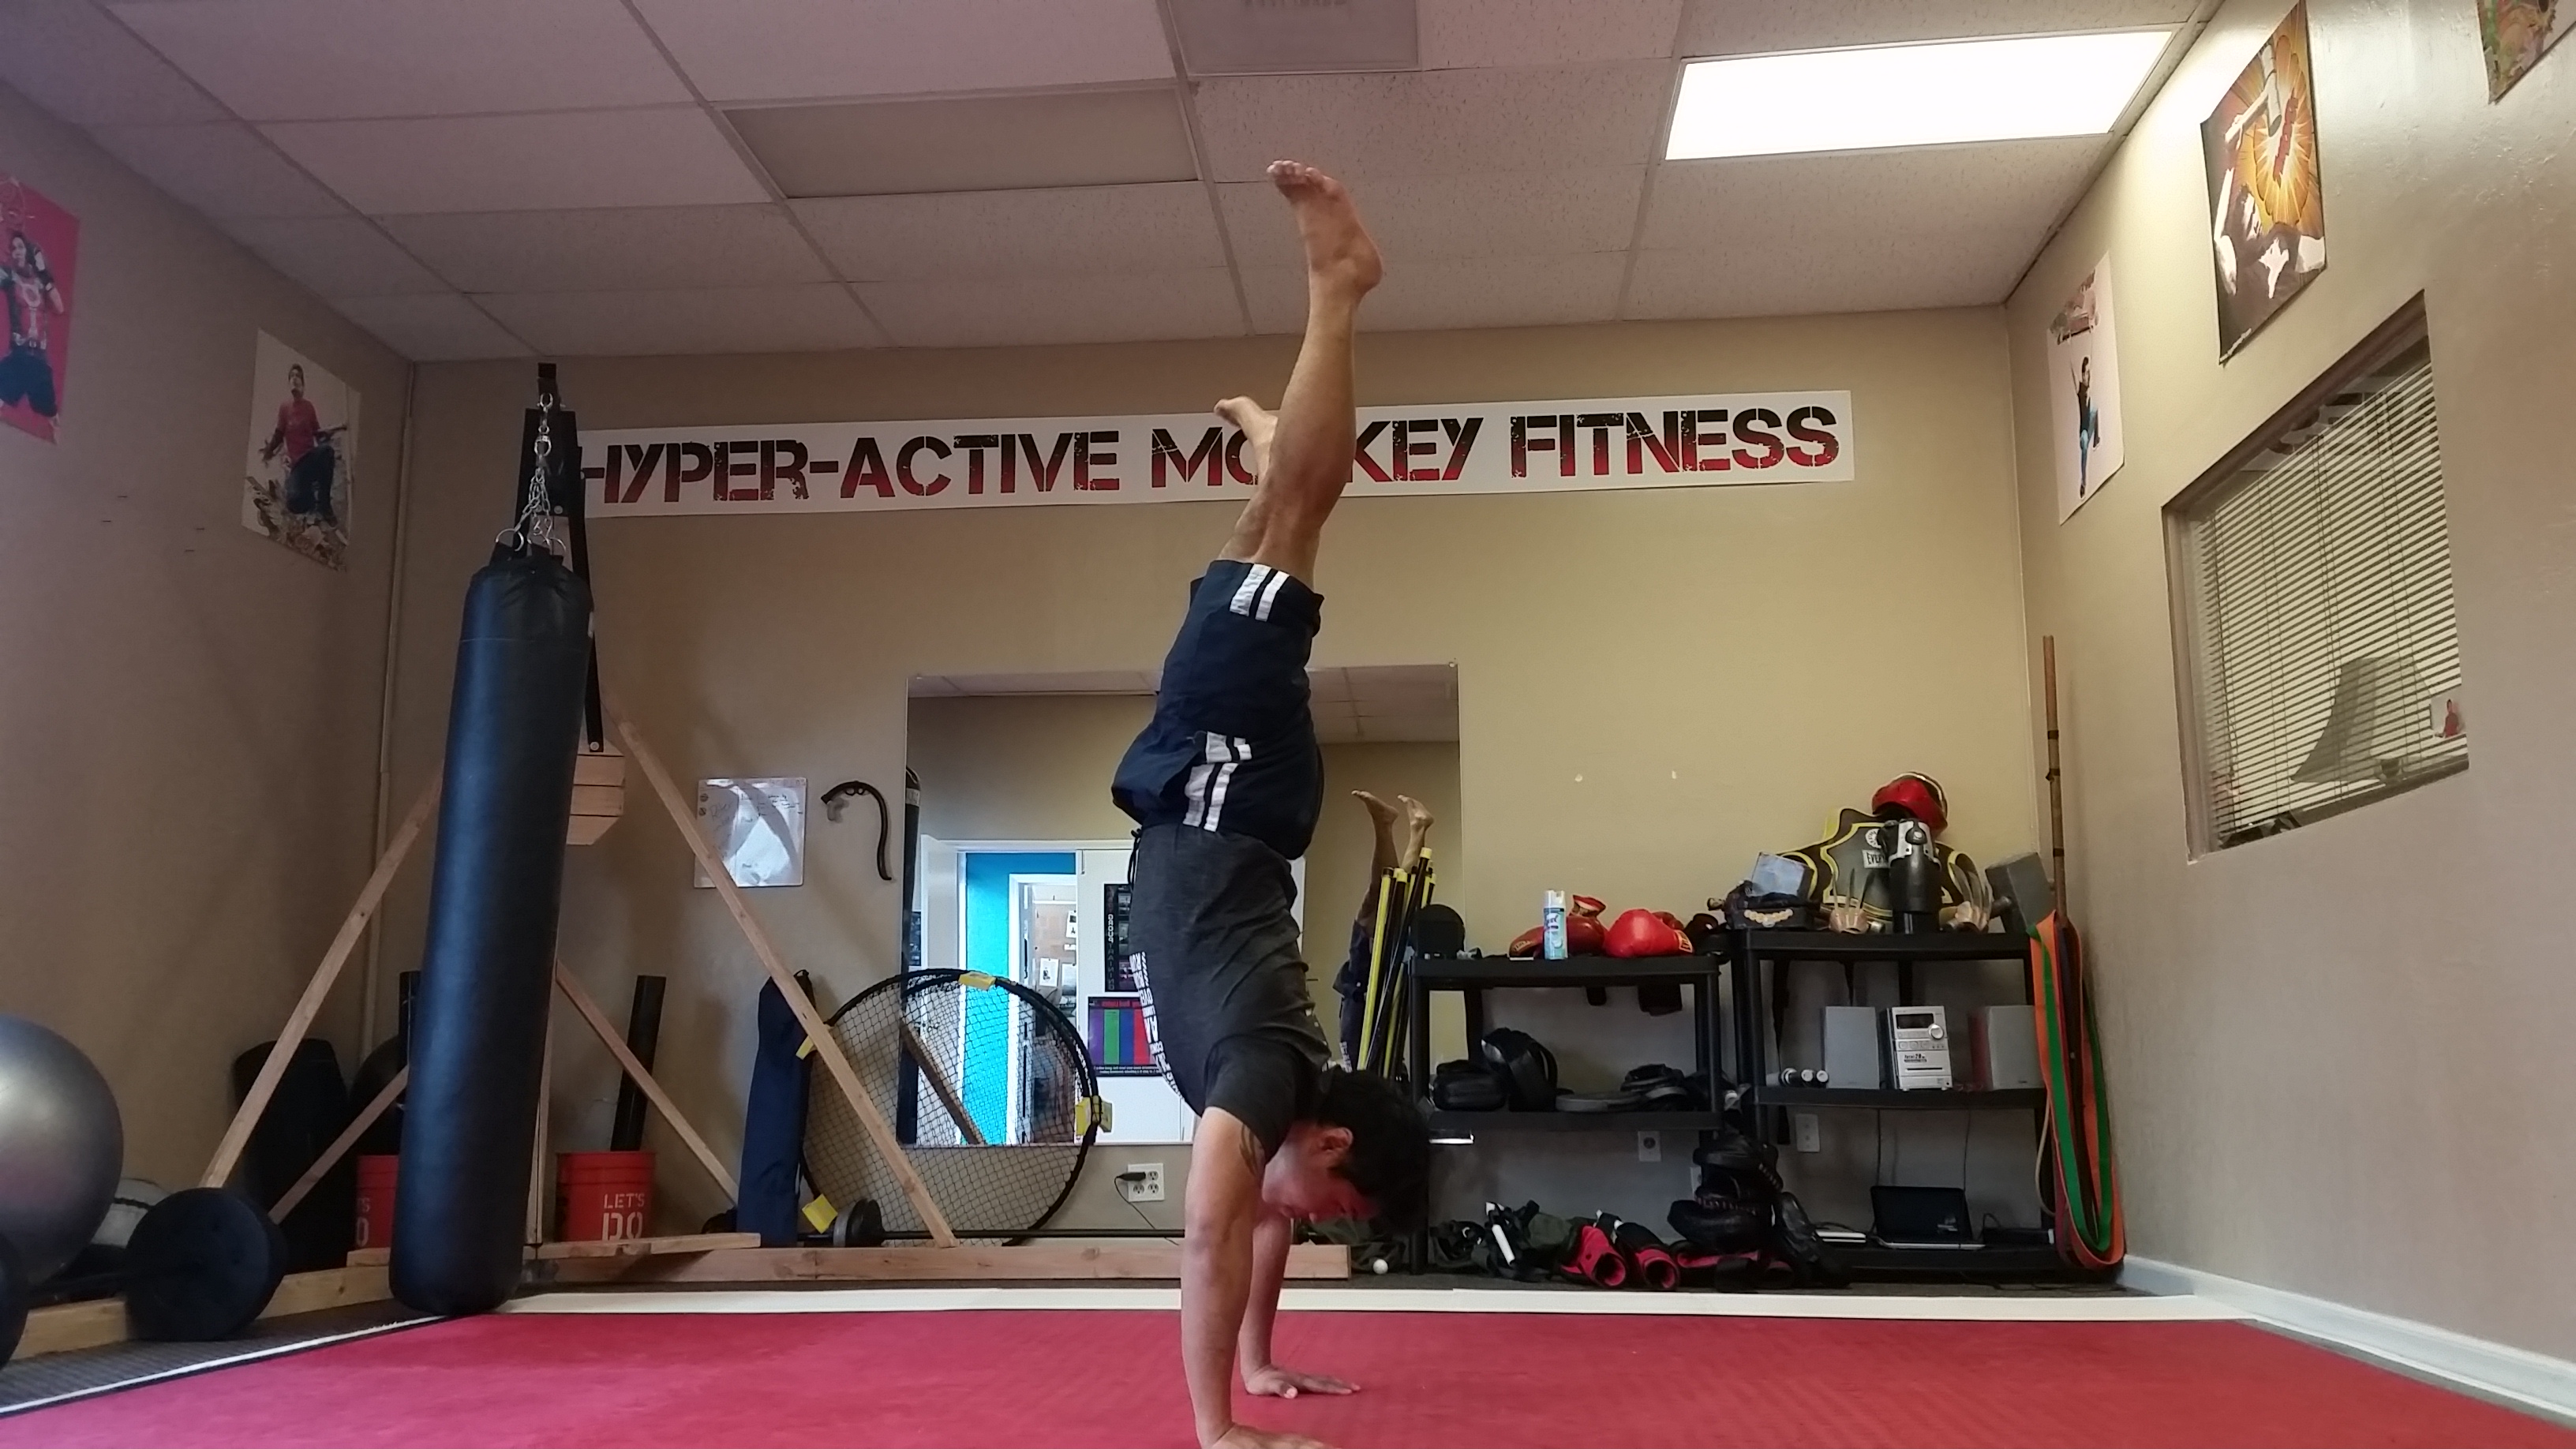
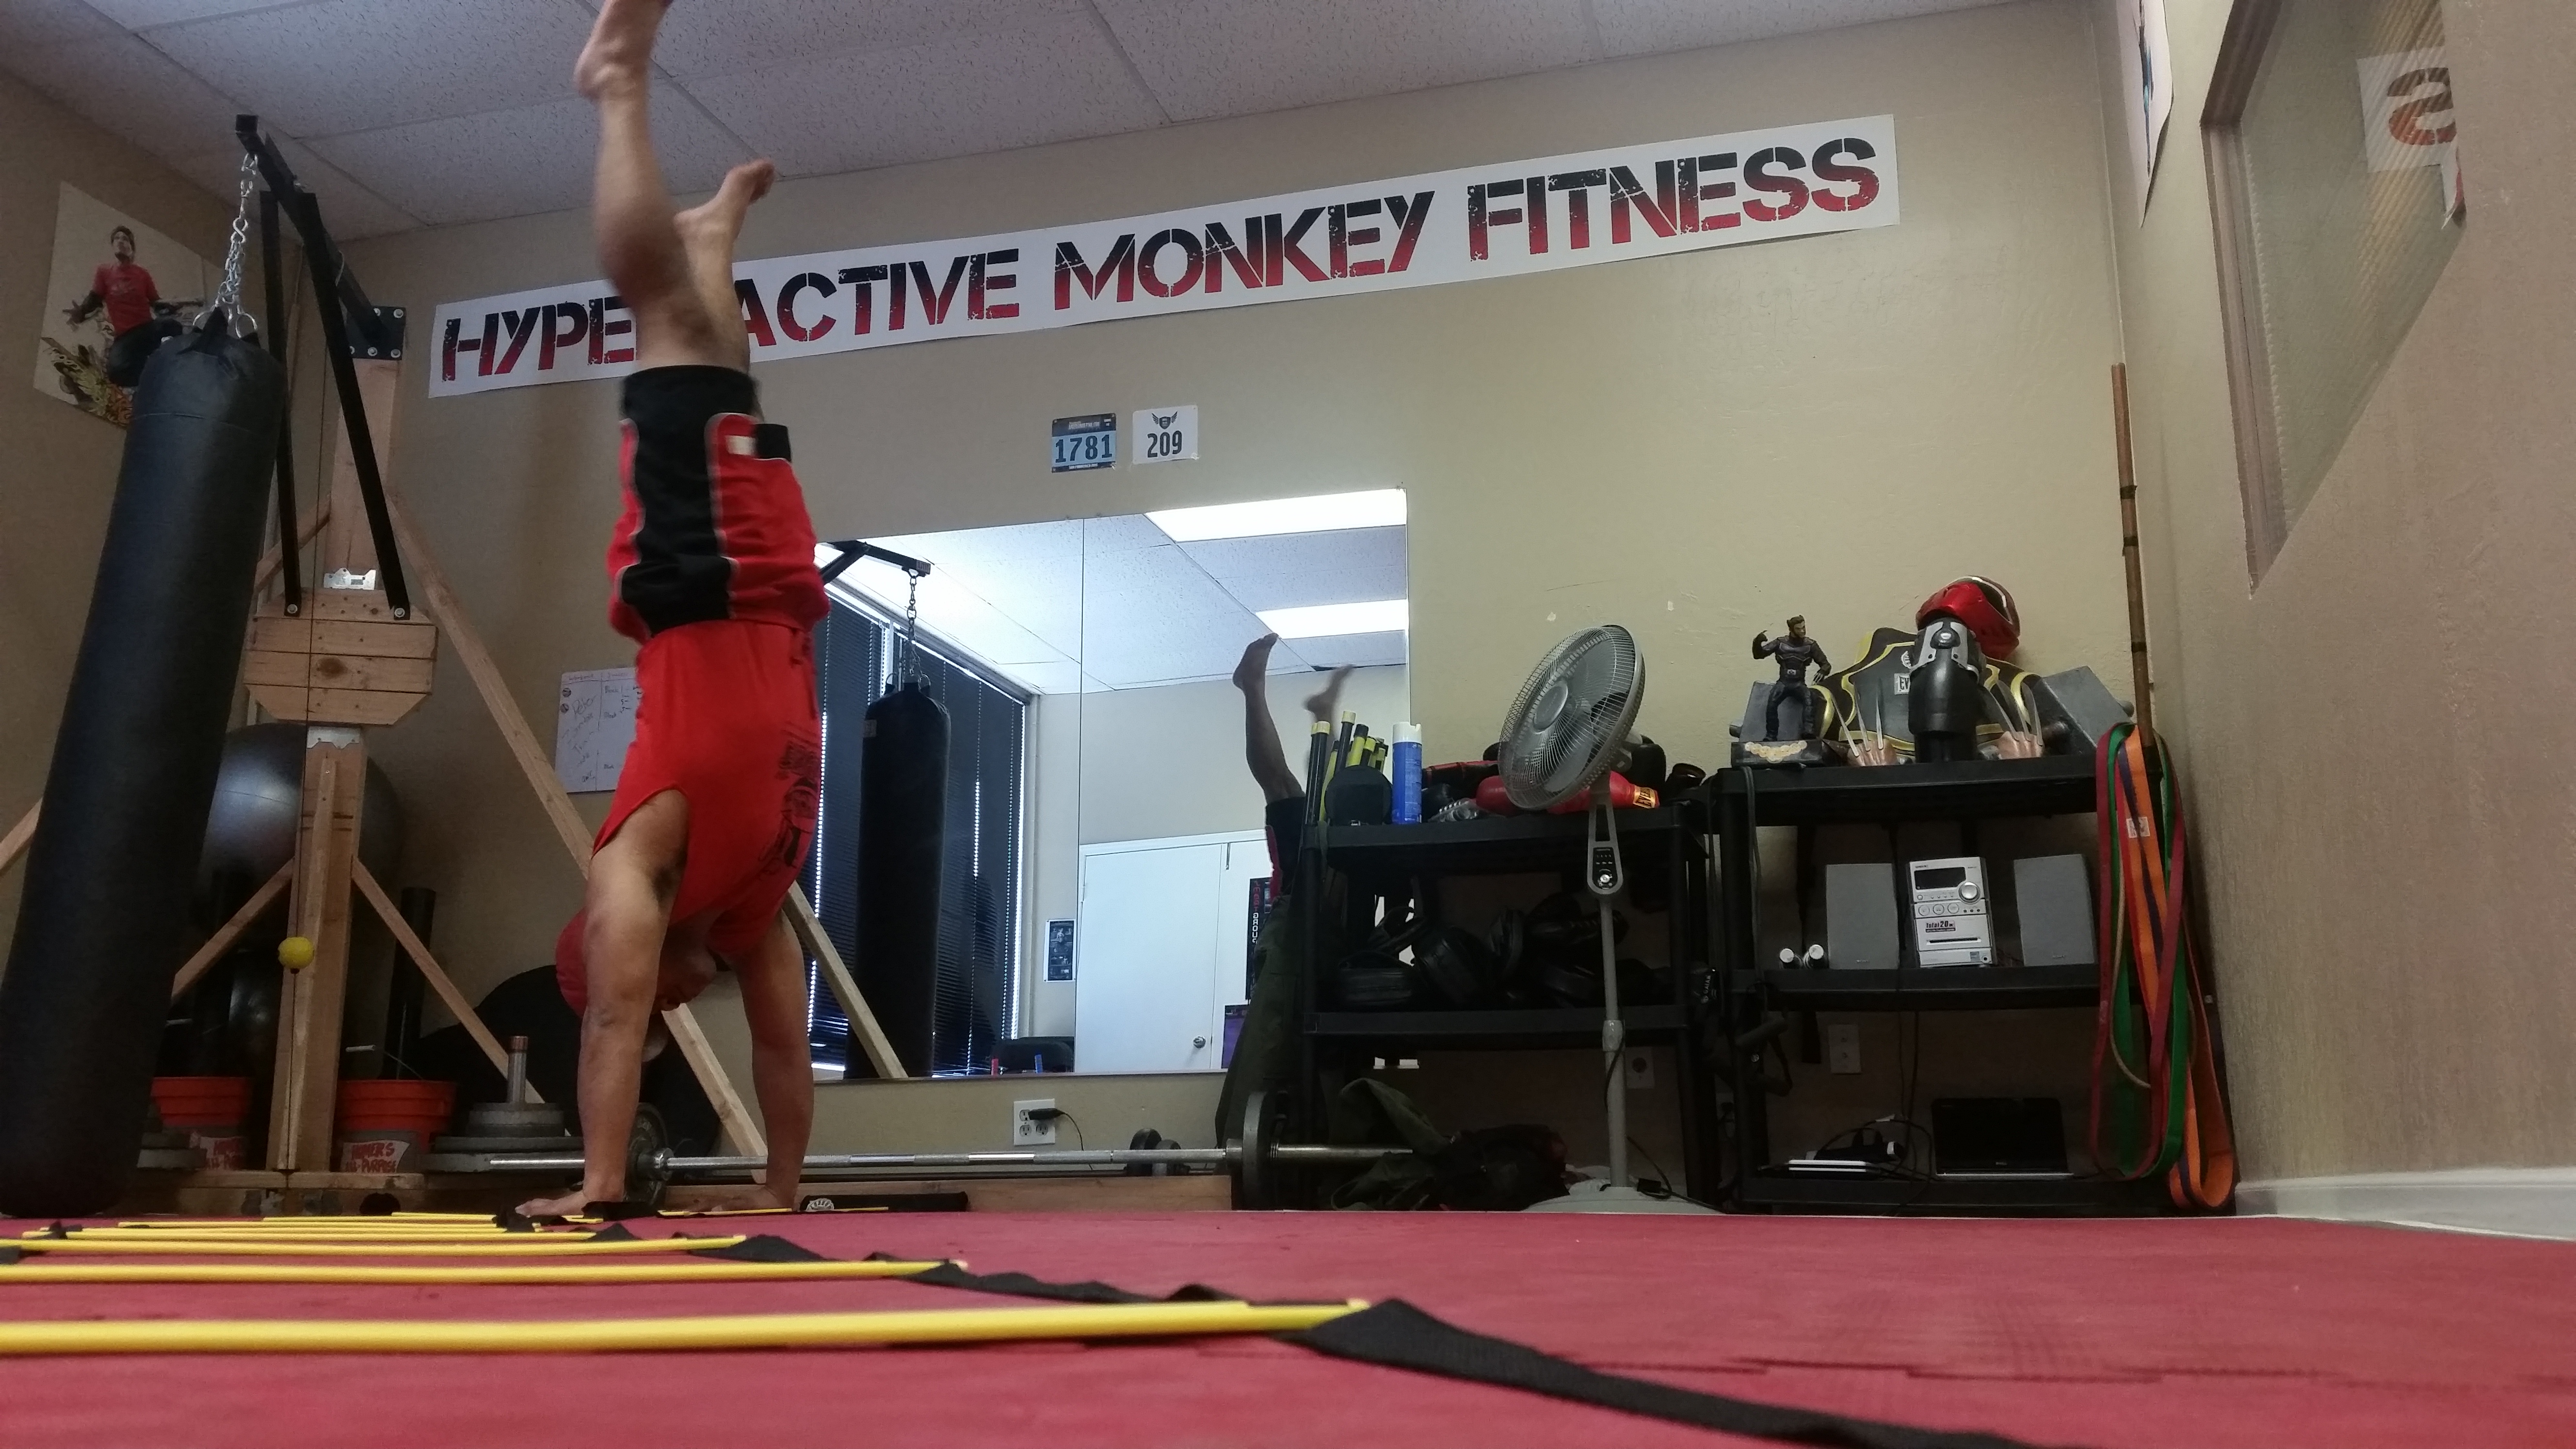
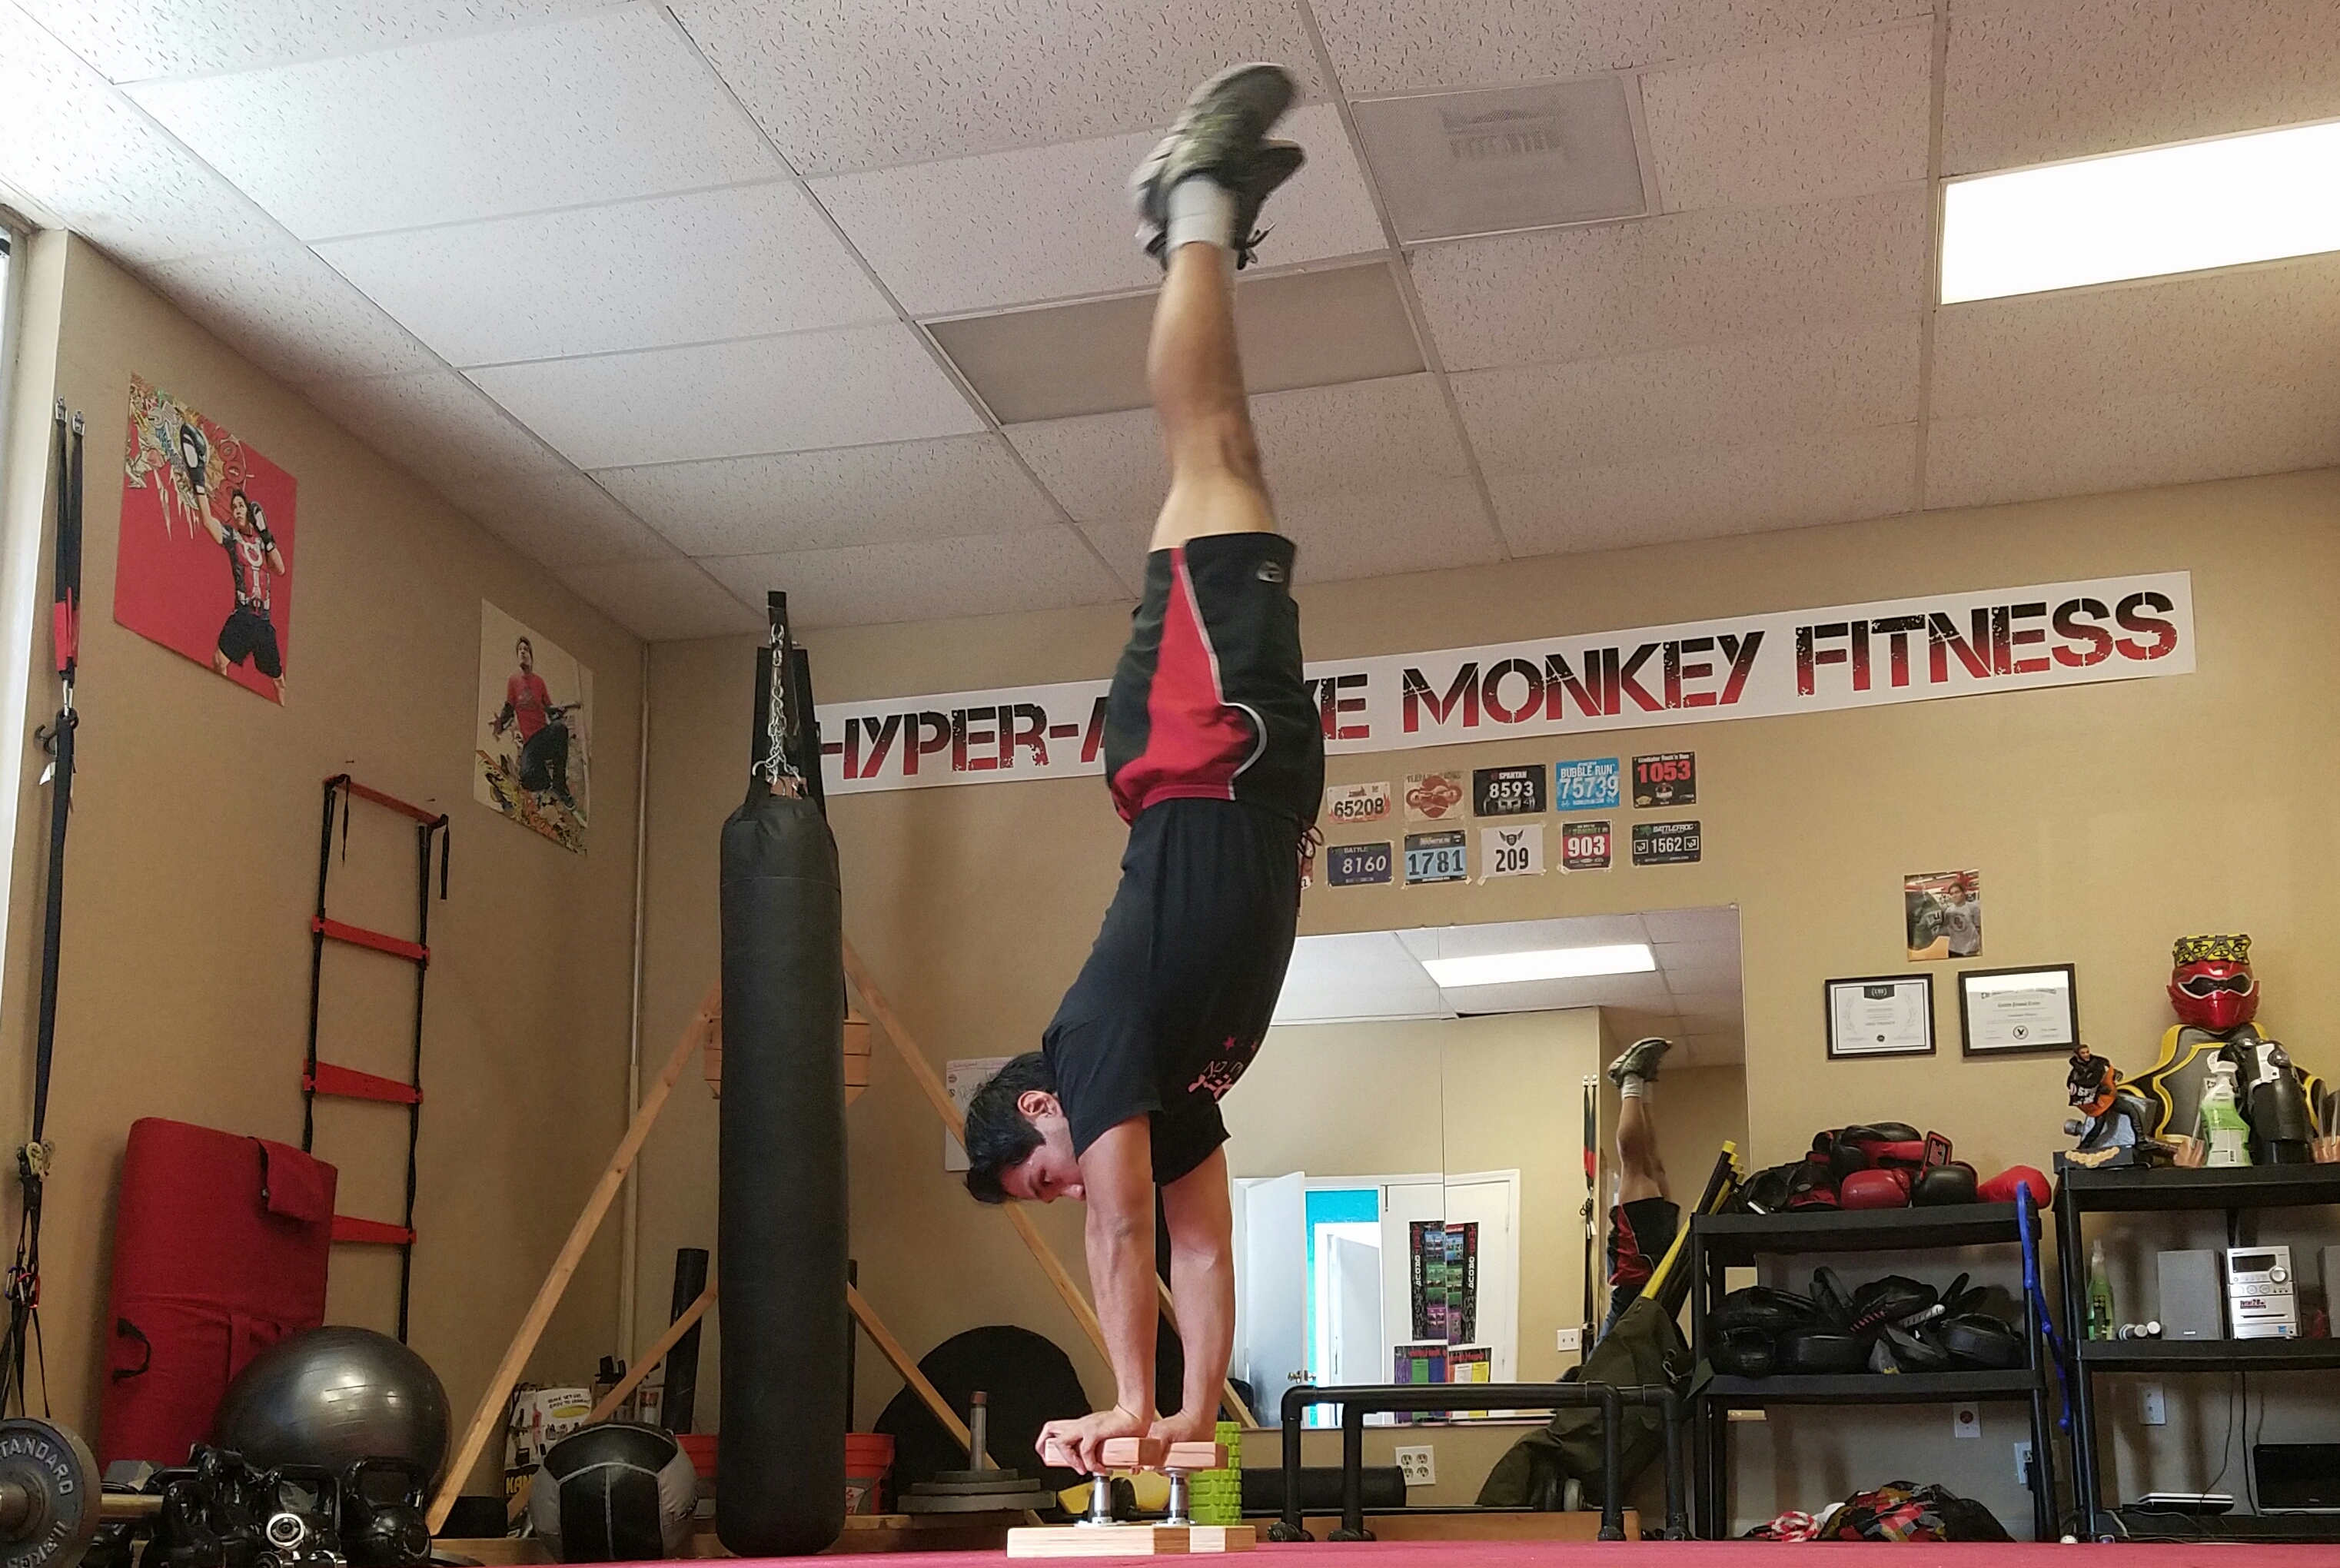
Squeeze your hips, clinch your butt, or feet together.

These are probably some of the most frequently used statements given out when trying to learn the handstand. Its also pretty common that enthusiasts who are just learning attempt to squeeze or clinch but still don’t get the desired result of keeping their body elevated and stable.

Where does the problem lie?

It comes in the form of visualization. The directives given for squeezing the hips or clinching the butt are mechanical, even if there is feeling behind them.

i.e. SQUUUUUUEEEEZZZZEEEE those hips!

Although the mechanics are correct, its hard to put together the sensations about what you are supposed to feel when you squeeze or clinch.

So how do we get past this issue?

Its actually pretty simple. You utilize a visualization that is also a mechanical directive.

Now this is something I look for when I teach. There are things that everybody has done which they can relate to a skill task. In regards to squeezing the hips. One things that everybody has done was “hold it in.”

Don’t worry, I’m going to expand on this.

Have you every had to go #1(title of the post!) but were far away from your destination by distance or even a long line. What do you do? You turn legs in, maybe jump around a bit and squeeze the heck out of your pelvic floor, adductors, etc. Everybody knows the feeling because everyone needs to use the restroom at some point, and if you don’t, wow. So one of my more commonly used visualizations has changed from squeeze those hips, to pretend you need to pee and have to hold it in. Without a doubt, its simple, directed, and the result speaks for itself.

Why don’t you give it a try and see if you can hold that inversion longer by stopping #1.

Stay Inverted!

How to do the One Hand Handstand by Professor Orlick
ow to do the One Hand Handstand on Amazon

-Jonathan Magno

PS If you want all the tricks of the trade for hand balancing, check out the Secrets of the Handstand Bundle!

Comments { 0 }

The Frogstand or the Crow Pose?

So today, I have another fun video for you that I’m hoping will show a different perspective on your body skill training.

Every person who trains their body has  a different view on similar or lateral skills. They might be in the same codified system or ones that overlap.

An example would be my friend Jonathan and I.

Hand Balancing Made EasyHandBalancingMadeEasy_on_Amazon

“Two Jons”.

One is hyper and the other is zen.

He’s a practitioner of yoga and martial arts. While I’m a combat enthusiast and movement trainer especial.

Since we follow lateral systems of movement, and the human body can only do so much, certain skills are definitely going to overlap.

A prime example would be the frogstand and the crow pose. They are basically the same move. What makes them differ from each other are the experience and accumulated depth of knowledge of the practitioners of different styles.

Which is why we made this video. Just watching, you’ll be able to see how we approach the same move. You’ll be exposed to multiple points of views and in turn have a stronger understanding of how to approach it.

Check out the video here!

Stay Inverted!

-Jonathan Magno

PS If you’re looking for a fully codified system of hand balancing, check out the Secrets of the Handstand Bundle!

Comments { 0 }

How your fingers enhance your floorwork!

It will probably come as no surprise that out of all the body weight styles of training from bar work, to rings, and even aerial flippy kicky skills; my favorite sets will always revolve around floorwork.

My basis for this is probably another unsurprising fact. You really don’t need any other piece of equipment other than your body using this style of training. To top it off it creates a nice strong foundation for the other body skills. Even if you’re having an issue with a move through either fear or even sloppy form, you can practice a lateral skill progression on the ground to build up that kinesthetic or confidence. I do this all the time.

In relation to your floor work; having strong, flexible, and coordinated fingers is a top priority. This is because in certain maneuvers, you are basically replacing your feet with your hands, which should have a similar level of control.

Before we move forward, lets build out on this idea by touching on the feet for a second. Specifically we’ll focus on your toes.

I want you to try something without getting too deep into it. But before you do this make sure that you are in a safe area where you won’t hurt yourself.

I want you to lean your shoulders forward as far as you can until your shoulders get past your toes.

Did you notice something? Were your toes gripping for dear life so that you could try and stay upright? Did you also take steps or shift your feet so that you could find your balance again? My guess is yes.

You can go ahead and do the same laterally to the left or right and even backward if you like.

Learn How to Back Flip in 31 Days
Learn How to Back Flip in 31 Days on Amazon

Its the same thing with your fingers and hands while you are doing floor work. Your fingers are like your toes gripping on to the floor to give stability and balance. If your body starts shifting forward, your fingers can grip the ground and act as your breaks. In a similar fashion, your thumb can slow you down if you start falling back to where you started. Your fingers are intergral in maintaining that structure. Especially in the beginning of your handstand journey.

A final way that your fingers can enhance your floor work is by relieving stress on your joints, and pulling the wrists out of full flexion thereby reducing the load on them. I’m all about testing. Try running through your floorwork with your fingertips gripping and see if it changes your stability and balance!

If you get some good results, be sure to let us know!

Stay Inverted!

-Jonathan Magno

PS If you want to become more skilled and develop your floor work, check out GMB Floor 1!

Comments { 0 }

Do you Roll Forward or Reverse Engineer it?

Rolling on the floor. It seems like a simple task. But many people seem to have a tough time with it. The simplest reason why is because they dive straight into it without the right body feel.

When somebody is  initially taught the roll, they start off in a kneeling position, and the first point of contact tends to be their shoulder. Following the contact with the shoulder the next point of contact tends to be the lower back or rump. This is usually exemplified by a large thump or possible yell.

How to do the One Hand Handstand by Professor Orlick
ow to do the One Hand Handstand on Amazon

So why does this occur? The two culprits are body kinesthetic and flexibility. When a person is rolling they need to be able to feel the connection of their back to the floor. On top of that, they need to be flexible enough to round out their back to create the shape necessary to roll.

Where does a person start to gain the tools necessary. They should begin at the point of contact that most of the issues occur. That point would be the mid-back. Build the right body feel and flexibility in that area and the roll will be an easy task.

A great example on building this body feel comes from Ryan Hurst of GMB Fitness.  Below, he demonstrates a set of progressions that you can use to develop the right feel to easily develop your rolling skills.

If you found this tutorial useful. Check out the GMB Vitamin Course to gain more skills similar to the roll.

Stay Inverted!
-Jonathan Magno


Comments { 0 }

Acrobatic Attributes: A GMB Elements Review

So, we’ve been talking a lot about foundation recently. Especially on how to get your body accustomed to all types of 3d movement. It can be scary, I won’t lie. Its a constant cycle, but after the initial work gets easier like the progress from walking, to running, to sprinting. Take myself for example, when I started on this journey of movement I was just like how most of you probably were in the beginning. NO IDEA what to do or which direction to take. Even with all the quick info out there, its hard to pull everything together in an easy to follow manner. Luckily you’ve got people like Logan who’ve done the hard work and can help you reach that level that you want to achieve.

The work is consistent but its a gratifying journey. The reason I’m talking about this is because i want to open you up to a way of making this body skill passion easier. As you know, our friends over at Gold Medal Bodies have been at the body skill game for multiple years. In their big pot of experience and talents, they’ve narrowed down the necessary attributes needed to develop any acrobatic skill. This information is compiled together in their Elements Program. Which we use of inspiration for our evolving outlook on handstand and hand balancing development.

I’ve always been a person about simplicity and the Elements Program accomplishes this by having you focus on 3 movement patterns in a progressive fashion over the course of 7 weeks. Even after a few days, I began to understand the value of the information. Although not just myself; my own clients have benefited with their own hip mobility and stabilization, which for some of them has been 2 years of work. Every piece of information is meticulously detailed and compliments each other.

As I said, the program is broken down into 7 weeks with 6 days of training. The main goal is to build necessary strength and conditioning, but more importantly to understand your body. As the weeks go by, Ryan and the GMB team start adding more tweaks as well as give you the guidance to work on your own free flow floor work.

Ultimate Guide to Handstand Pushups
Ultimate Guide to Handstand Pushups on Amazon

If you’ve never been inverted or have never tried any acrobatic feat, be sure to pick up the GMB Elements Program. I can’t recommend it enough!

02_12_01

Stay Inverted!
-Coach Jon

Comments { 0 }

Great Tricks To Try

Skills like hand balancing, hand spins, tumbling, flexibility tricks are serious tricks that can only be achieved through continuous training and practice. Hand spins and flexibility tricks are good way to keep your body in shape even when doing a solo act. While advanced hand balancing and flexibility skills are nicer when done in pair or with a group.

Dan had been practicing some of these skills for the past 2 years, at least. Do you think you can do better in a shorter training time?

Hand Balancing Made EasyHandBalancingMadeEasy_on_Amazon


Comments { 0 }

Incredible Training Compilation by Daniel Tsinis

Here’s an awesome video compilation of various hand balancing moves from an ex-gymnast who just recently changed the focus of his training to hand balancing. Lots of presses, one arm hand balancing, handstands…

Weather you’re a fan of hand balancing, tumbling, breakdancing or gymnastics in general, I promise you’ll enjoy this video by Daniel Tsinis.

Click here to start your hand balancing training today.

Trampoline Handbook
Trampoline Handbook on Amazon
Comments { 0 }

Running a Human Loop

We haven’t had a Damien Walters video for a while and this one is pretty awesome. If you didn’t know, Damien is one of the greatest acrobats in the world and this video just goes to show what he is capable of.

How to do the One Hand Handstand by Professor Orlick
ow to do the One Hand Handstand on Amazon

We’ve seen bicycles, bikes and even cars running a loop. But what about using your own feet instead?

It’s really worth watching the whole thing, despite the fact that it’s basically a commercial for a soft drink.

If you want to be able to tumble and run like Damien Walters, there is a lot of practice ahead of you. But let me point you in the right direction – Tumbling and Acrobatics Starter Package.

Comments { 0 }

Tumbling and Balancing in 1950’s

Here are three awesome videos from the 1950’s. They were all uploaded by Russ Hany, so make sure to check out his channel here as he has more videos from that era.

Ultimate Guide to Handstand Pushups
Ultimate Guide to Handstand Pushups on Amazon

The first one is from 1950 with people performing a couple of basic tumbling moves like backward, forward and side rolls. There are also two guys walking on their hands.

The next video from 1952 features pretty impressive acrobalance duo/trio.

And here’s another one with some very cool moves, like the tiger bend, handsprings, rolls, somersaults and much more. From 1953.

Not everyone wants to learn how to perform all these moves. But you should at least have basic tumbling skills and be able to role, perform backwards somersault and cartwheel. Click here and learn the basics!

Comments { 0 }

How to Perform a Front Flip

To get started with a front flip,  you should find  yourself a soft surface like sand, grass or just use an old mattress to prevent injuries while practicing the front flip. According to Ronnie Shalvis, three main steps for achieving the front flip are momentum, blocking and set.

If you’re just starting out you’ll have to use momentum to help you with the front flip. Doing it while standing still is very cool, but it’s harder so you should not attempt it before you learn how to do it with momentum. As you get some speed by running, you’re going to go into a block. The block is basically the point where you jump with both feet of the ground and bounce upward. Note that you’re not supposed to jump low in the block, but merely bend your knees and jump upward.

The third stage of the front flip (while you’re in the air) is called the set, which is essential for getting to the proper height. Most people who are just starting out with the front flip believe they should lean forward and jump in that position, which almost guarantees bad landing. Instead, you need to keep your body upright, with chest up and throw your arms in the air as you jump. So, during the set you’ll go up and back to the tuck before opening and landing safely.

Make sure to watch the entire video to fully understand how to perform the front flip and also pick up additional tips from Ronnie.

Interested in more complete tutorials for flips, tumbling and more? Check this out.

Trampoline Handbook
Trampoline Handbook on Amazon
Comments { 0 }