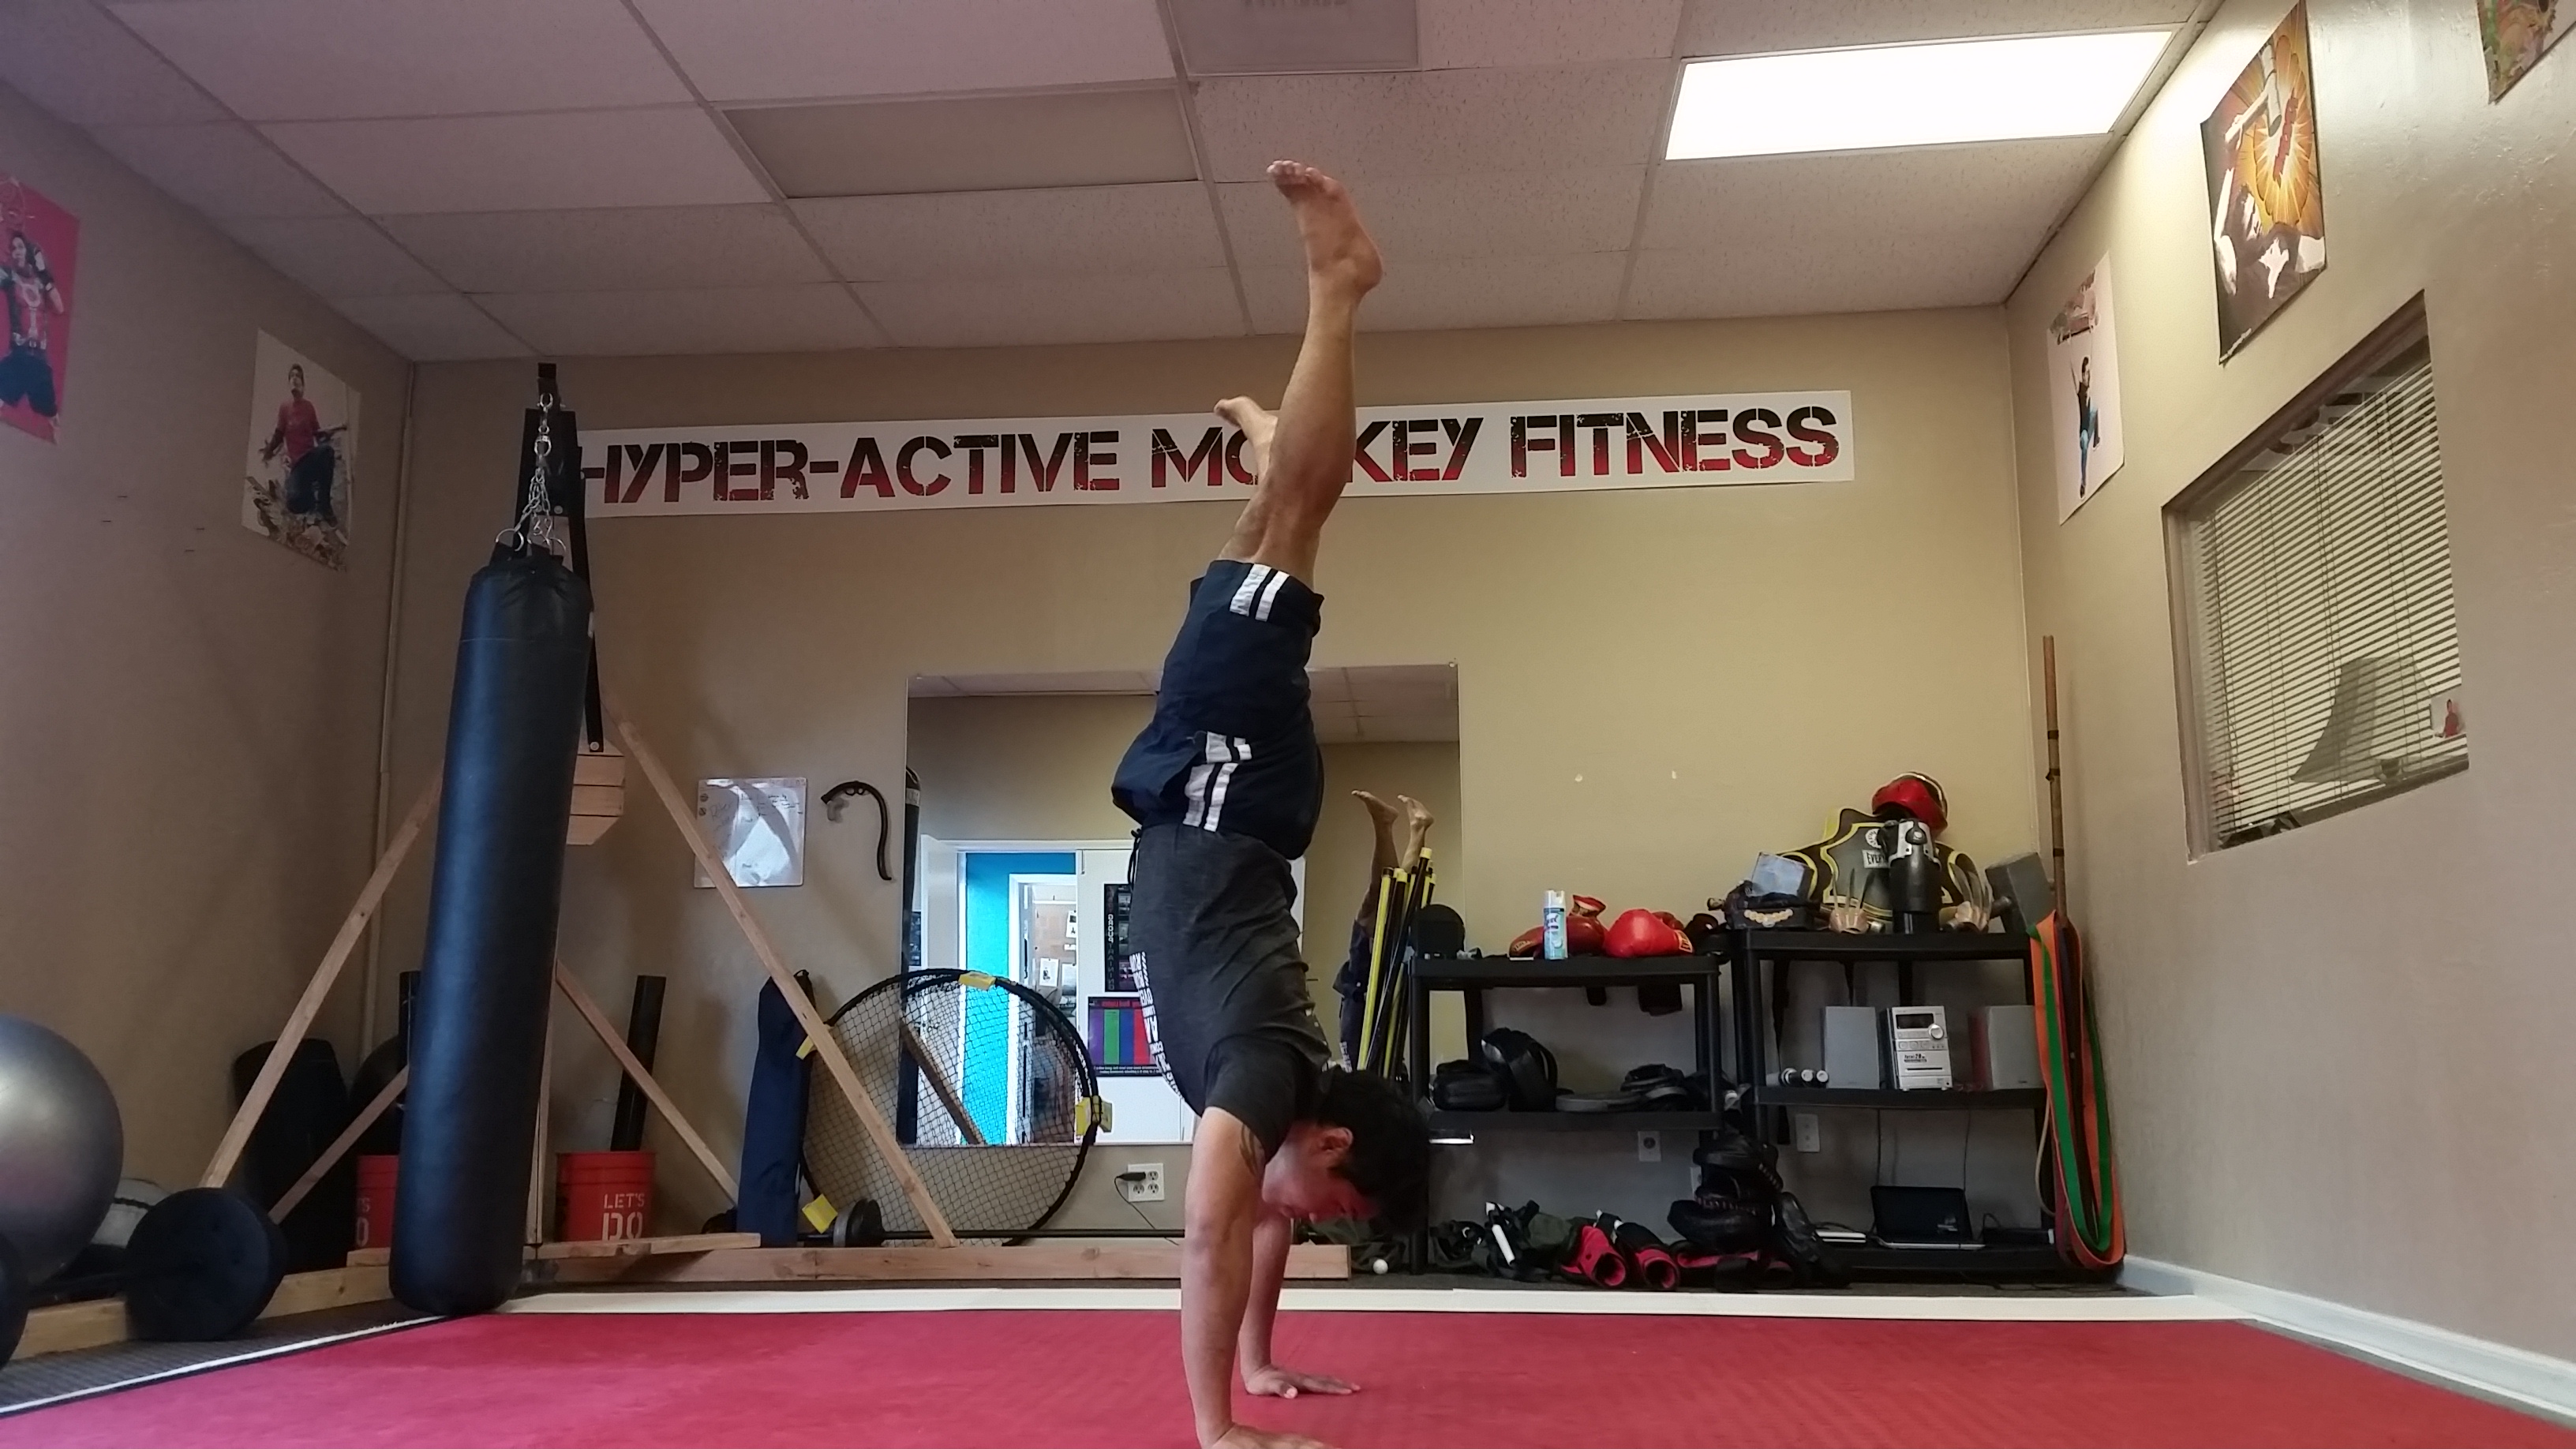
Training is a huge part of my life. Its fun, tests my limits, and is a HUGE stress reliever. But what happens when something key to that chill factor adds to the stress. Living in Silicon Valley, stress is a very common thing. Fear, anxiousness, and doubt are always just around the corner. With the pressures of being around some of the most intelligent people, helping to move the world around, this anxiety and doubt can creep into the oddest places.
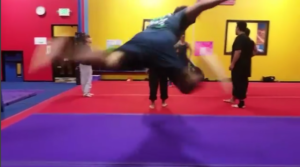
Once such occasion happened to me just yesterday. I was training in Tricking. If you don’t know what that is, its all those cool martial arts guys spinning and flipping in the air while throwing kicks. While working on a normal Butterfly kick but with a new entry, my anxiousness started setting in. Its an odd fact, but even I get this way.
I’m human.
With the stress of building a business, personal stuff, and helping clients through their own processes in getting better; the fear, anxiousness, and more started to set in. Luckily with supportive people around me, I was able to push and move forward.
But what do you do if you don’t have that support?
Try these 3 ways to overcome that negativity and keep moving!
Way #1 Move Into The Fear.
It’s all about meeting your fears and facing them head-on. Aim to recognize your fears, acknowledge them and then move through them. Ask yourself what is it that makes you uncomfortable? Have you let yourself get out of shape and are afraid you’ll never get back? Do you have an injury that’s caused you to be afraid of your body? If you can visualize creatively, then you can put your fears in check. Remember: your body has knack at baselining itself. Your only job is to trust it and listen.
Way #2 Trust Your Intuition.
It is important when overcoming obstacles and learning to break through barriers that you begin to listen to the still small voice of your body. In most cases, we all want the comfort of having someone telling us what we can and cannot do. However, our highest truth is usually deep down. This is not to say that good opinion of others are not important, but ultimately the decision making comes from within.
When facing a challenge or an obstacle look to how you feel. What are your instincts telling you? Often it is simply your instinct that will move you into a new mindset and raise your consciousness. It’s simply about changing your perspective. Although in order to do this you have to find where your restrictions and boundaries are so that you can move past. Once you know what they are, remember “WAY #1” and meet them head-on.
Way #3 Live Beyond the Boundaries
So what’s the final takeaway from all of this? Staying afraid often keeps us from truly living. Moving forward starts with your attitude. Are you going to keep letting things beat you down and miss whats happening today. Or will you make today the right time to face them.
Life Beyond The Boundaries.
Push past your fears and boundaries and when you’ve settled with that, look for another skill, trick, or plateau to jump.
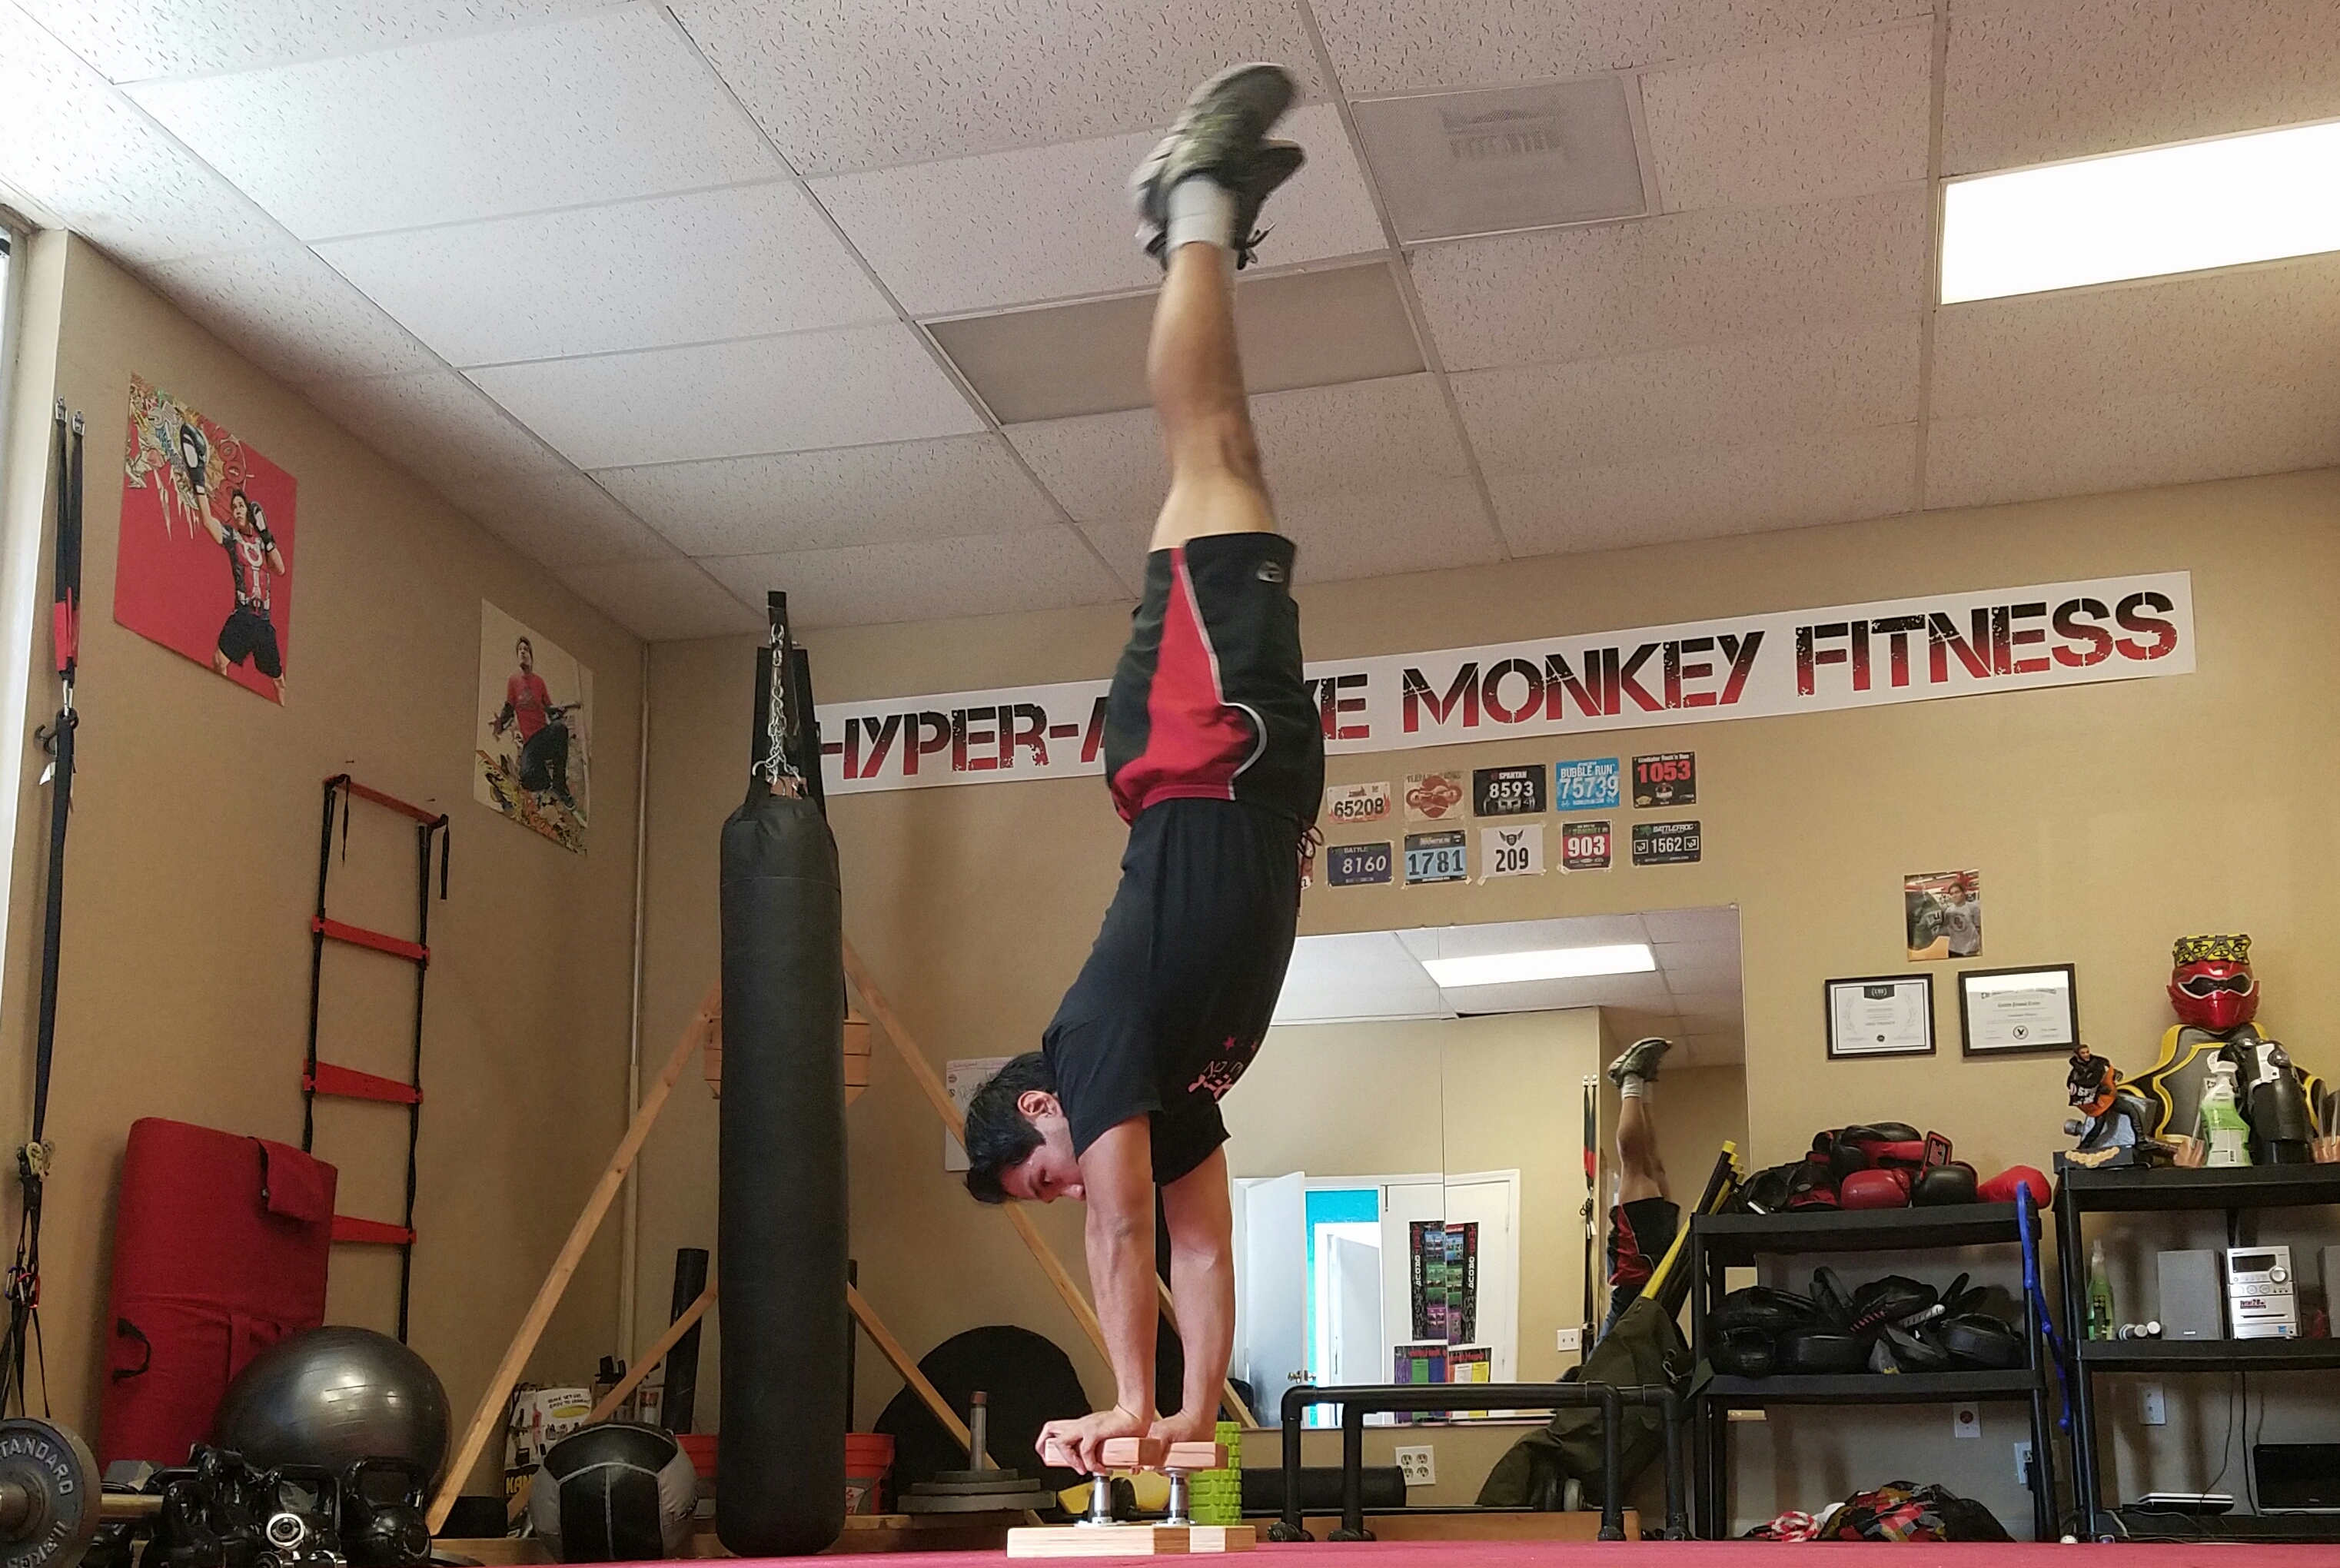
Stay Inverted!
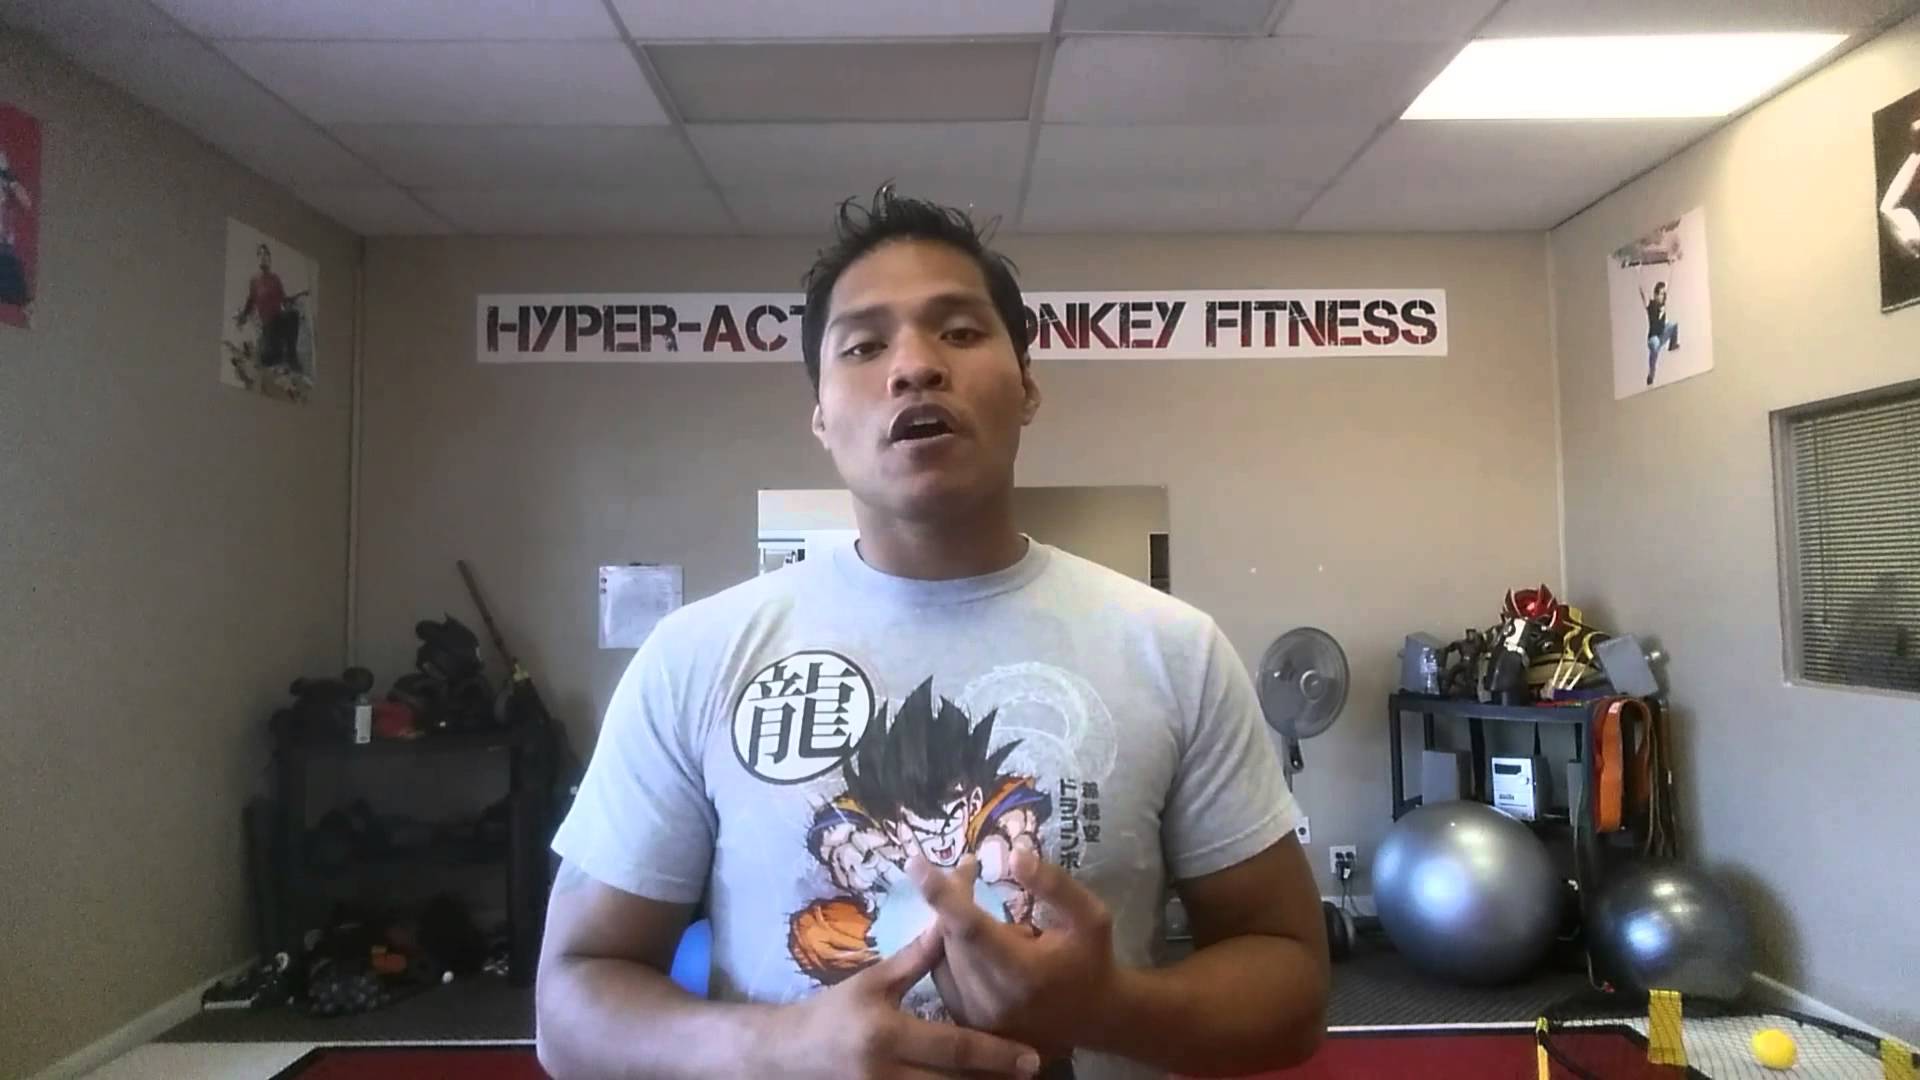
-Jonathan Magno
PS On a different note, if you want all the tricks of the trade for hand balancing, check out the Secrets of the Handstand Bundle!